
Introduction: Guide to Creating Your Sourdough
Welcome to the wonderful world of sourdough baking! If you’ve ever dreamed of crafting your own delicious, crusty sourdough bread at home, you’re in the right place. In this comprehensive guide, we’ll walk you through the step-by-step process of creating your very own sourdough starter from scratch. With just a few simple ingredients and a bit of patience, you’ll soon be on your way to baking mouthwatering loaves that rival those from your favorite bakery.
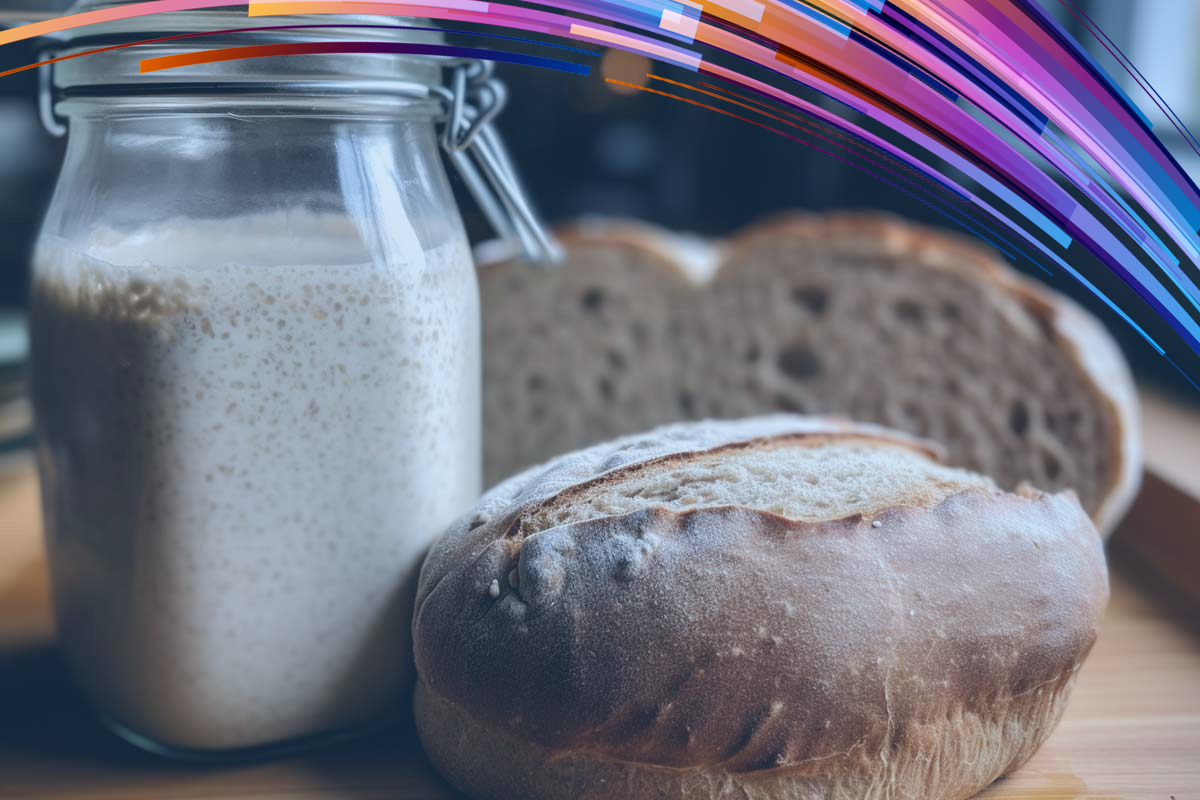
What is a Sourdough Starter?
Before we dive into the nitty-gritty of sourdough starter creation, let’s take a moment to understand what exactly a sourdough starter is. Essentially, it’s a live culture comprised of natural yeasts and bacteria that ferment a mixture of flour and water. This magical concoction is the leavening agent for sourdough bread, giving it that distinctive tangy flavor and airy texture.
How Long Will It Take?
Creating a sourdough starter from scratch is a labor of love that requires time and patience. From start to finish, the process typically takes around 7 days, though it may vary slightly depending on environmental factors such as temperature and humidity.
Is it Difficult to Do?
Fear not, dear reader! While the idea of cultivating your sourdough starter may seem daunting at first, rest assured that it’s a surprisingly simple process. Most of the work involves adding flour and water to a jar and letting nature work its magic.
Beginner Sourdough Starter Recipe:
Now that we’ve covered the basics, let’s get down to business. Here’s everything you’ll need to create your sourdough starter at home:
Supplies:
3/4 L jar (preferably with a lid)
Ingredients: To create the starter:
- 60 g (1/2 cup) whole wheat flour
- 60 g (1/4 cup) water
- To feed the starter each day (Day 3-7):
- 60 g (1/2 cup) unbleached all-purpose or bread flour
- 60 g (1/4 cup) water
Step-by-Step Instructions:
Day 1:
Combine 60 g (1⁄2 cup) of whole wheat flour and 60 g (1⁄4 cup) of warm water in a large jar.
Mix until smooth, then cover and let rest in a warm spot for 24 hours.
Day 2:
Check for bubbles on the surface of your starter. If present, you’re off to a great start!
If you notice any brown liquid (hooch), don’t panic – this is normal. Leave it be for now.
Day 3:
It’s time to start feeding your starter. Remove and discard half of the mixture, then add 60 g (1⁄2 cup) of all-purpose flour and 60 g (1/4 cup) of warm water. Mix until smooth and let rest for another 24 hours.
Days 4-6:
Repeat the feeding process outlined on Day 3, discarding half of the starter each time and adding fresh flour and water.
Keep an eye out for signs of fermentation, such as bubbles and a slightly sour aroma.
Day 7:
Congratulations! Your sourdough starter should now be active and ready to use.
Transfer it to a clean jar and store it in the refrigerator until you’re ready to bake.
Conclusion:
And there you have it – your very own homemade sourdough starter! With this essential ingredient in hand, you’re well on your way to mastering the art of sourdough baking. Soroll up your sleeves, dust off your apron, and get ready to enjoy the incomparable satisfaction of baking bread from scratch. Happy baking!