
Develop your skills and become a professional!🍞✨
Learn the secrets of baking like a pro! 🍞✨ Discover the art of perfectly using a panettone basket for bread dough. From dough to delight, learn insider tips and techniques to master the technique. Expand your knowledge and develop your baking skills with expert guidance and impress your guests with beautifully crafted bread creations. Don’t miss the ultimate guide to mastering the panettone basket! 🍞 🍞 Don’t miss the opportunity to enhance your baking skills and join us now👩🍳👩🍳
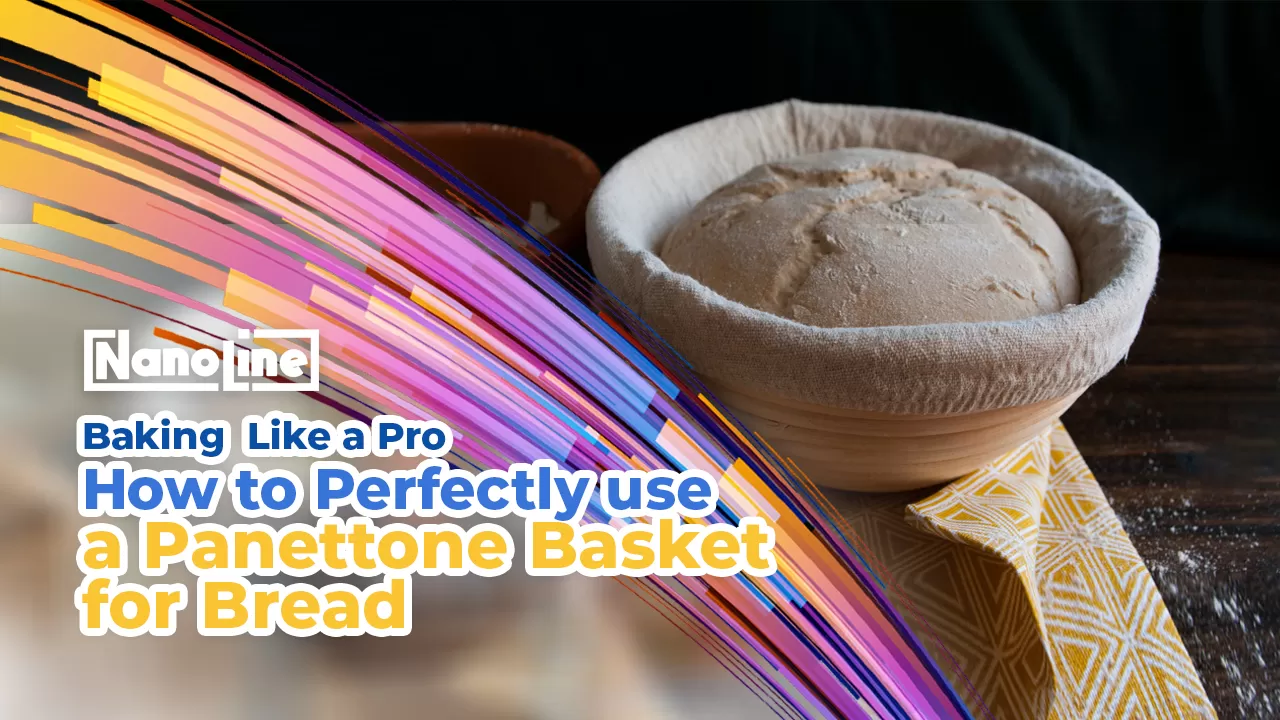
Visit any professional bread bakery, and you’re likely to find tall stacks of baskets somewhere. These baskets are essential tools for breadbakers, helping them create perfect loaves. But are they necessary for the home bread baker?
—
Part 1: What is a Banneton Basket?
Bannetons, also known as proofing baskets, are essential for maintaining the shape of bread dough as it rises. Whether you’re an experienced baker or a beginner, understanding how to use these baskets will help you create perfect loaves.
Part 2: Why Use Banneton Basket?
The basket provides support and maintains the shape of the dough, especially if it is very wet and moist which may flatten. Also, using a flour basket, with or without a liner, facilitates the movement of the dough easily without it sticking or tearing.
Part 3: Panettone – Not Just for Sourdough
Contrary to popular belief, these baskets are not limited to leavened bread. Although it is best known for sourdough, other non-sourdough breads can benefit from the support it provides during the final rising stage.
Part 4: How to Use a Banneton Basket
First, prepare the panettone, brotform, or whatever fermentation basket you are using. If it has a fabric lining, add it to the basket. Lightly but thoroughly flour the basket (either the cloth lining or the basket itself, whichever surface the dough will touch). Our baking school recommends using a sieve so you get a nice, even layer of flour.
Shape your dough to fit the basket: a ball for round fermenting baskets and a piece for oval fermenting baskets. Place the dough in the basket with the seam side facing up. Cover the basket and leave the dough to rise according to recipe instructions. Once ready to bake, carefully flip the basket over and remove the dough.
Part 5: Cleaning and Maintenance Tips
Your fermentation basket does not require much maintenance. Simply shake off excess flour after each use. If a little paste sticks to it, wait until it dries, and then use a stiff brush to remove it. Keeping a little flour helps build the basket’s liner. If your liner is separate from your basket, the same rules apply: Shake it, don’t wash it. The liners can be stored in a zip-top bag in the freezer, which will prevent them from developing a musty odor. If for any reason you need to clean your basket, use a stiff brush and warm water (no soap), and let it dry completely at room temperature.
Explore our range of fermentation baskets – round and oval, designed to elevate your artisanal bread-making journey.